

Why we build our IP65 heaters to be taken apart
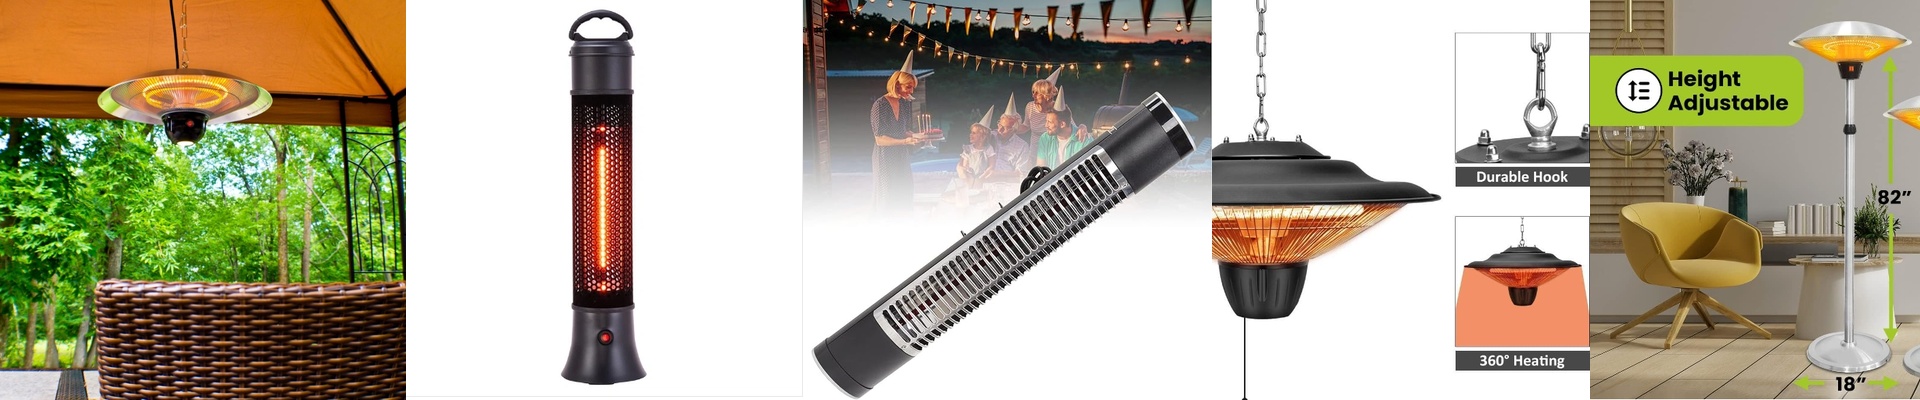
Let’s be honest: outdoor heating is a battle. Between the rain, the humidity, and the constant heating and cooling, things eventually break. It’s just physics. Usually, when a heater dies a few years in, it’s a total headache. You’re stuck on a ladder, sweating or shivering, trying to rip out a sealed chassis just to fix one tiny part. It’s a nightmare. So, we decided to do things differently. Stop treating heaters like disposable boxes Most brands sell you a sealed unit. When the element burns out, you’re basically throwing the whole thing away or spending hours rewiring a control box in the wind. We went with a modular setup instead. Think of the heating elements as plug-and-play parts. You don’t have to mess with the guts of the machine. You just pop the old module out and slide a new one in. It turns a whole afternoon of frustration into a five-minute job. The struggle with waterproofing Now, keeping things IP65—meaning dust-tight and waterproof—is tricky. When you seal a box that tight to keep the rain out, the heat has nowhere to go. It’s like an oven in there. If you aren’t careful, the electronics just cook themselves. To fix this, we use high-temp gaskets and specific vents. They keep the water out but let the unit breathe. It keeps the internals cool even when those infrared tubes are cranking at full blast. What this actually looks like on the job If you’re looking at the specs, check out the connector points. We use standardized, vibration-resistant couplings. Why? Because nobody wants to be soldering wires in the rain. With these, you just unplug, slide out the spent tube, and click the new one into place. Simple. Here is the trade-off: the heater is a few centimeters larger because of this design. You lose a tiny bit of space, but you gain the ability to fix your system without tearing the whole thing down. For anyone managing a big outdoor space, that’s a trade I’d make every single time.